Sorry for the absence. It was just a little longer than I thought it would be.... I faced some serious work deadlines leaving next to no time for quilting or even reading blogs. DH also worked like a maniac too so I was practically a singe-mom for two months too. I know I missed some pretty exciting things on line. but when your Goggle reader is +1000 for several weeks, best you can do is just to mark everything read and start over.
I hope you all had a nice and relaxing Christmas. We surely kicked back and did as little as possible.
For Christmas I got an iPad mini. I can see this iPad living a very active life out and about so I decided to make a little padded bag for it. I've made lots of lovely little bags lately based on the great pattern from The Village Haberdashery. I adore this pattern and are always using my scraps to make them. This one I wanted to pad a little though and I also wanted to make a pocket. Life in my handbag can be rough. So here's the instructions for a slightly revised, padded version with a front pocket
It's really fast to make. This one took less than an hour from start to finish.
Padded bag tutorial

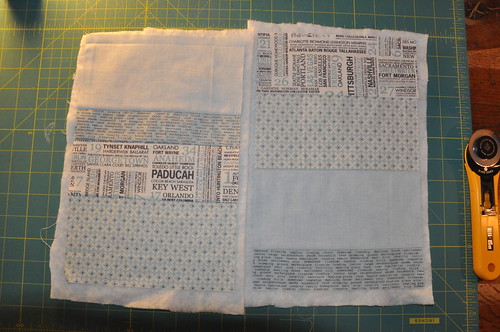
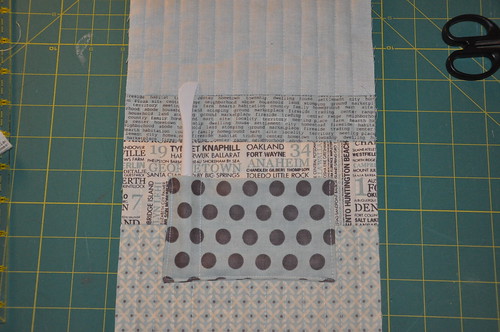
Start off by sewing some fabrics together to make two 7,5 x 11,5 inches pieces.
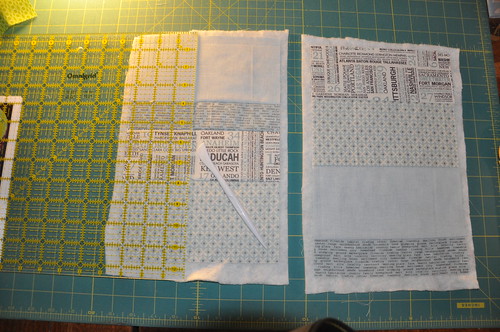
Spray baste it to some leftover batting.
Mark quilting lines with a quilt pen or your Hera marker. I marked mine ½ inch apart.
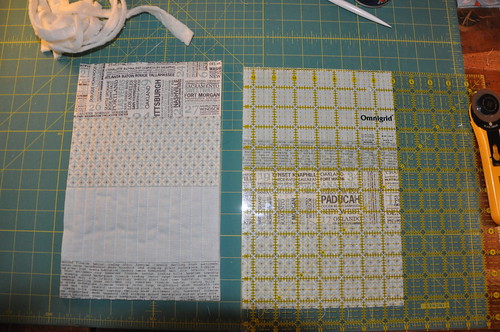
Quilt with large stitches (I used 3,5) and then trim the pieces and batting. Set the machine to regular stitches again.
I decided I wanted a pocket for the earplugs and charger. I cut a 5,5" x 6,5" piece and folded in half rst. Sew along the edges leaving a little gap at the bottom.
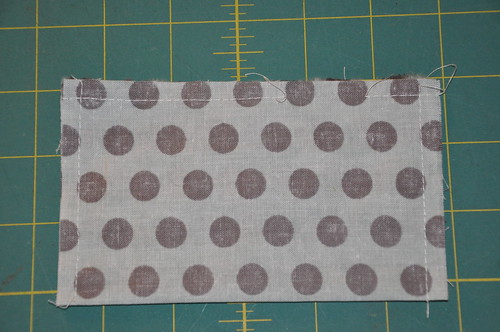
Turn and quickly stitch the little gap. Then attach the pocket to the front where you please. You might want to make two small compartment or one big. (I made two but actually removed the stitches when I had finished the bag so it was just one pocket). I stitched the pocket directly on the bag but you can also hand stitch it and make the seams almost invisible.
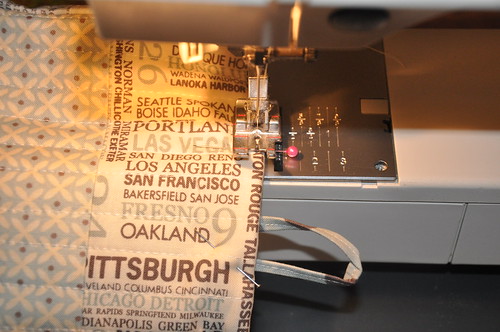
Now place the front and back rst and stitch along the edges on the sides and bottom with a regular 1/4 inch seem allowance. Turn the bag over and press. Turn the top ½ inch edge down evenly all round the bag and press again.

The inner pocket is made from two 7,25 x 11 pieces. Place them right sides together and sew around the sides and bottom just like the outer piece. Press. Now turn the edge ½ inch down on the outside (opposite from the front).

Place the inner bag inside the outer bag carefully aligning the edges with pins. Make sure the inner bag edge is just a little bit below the outer bag edge. I always align the sides first and then the sides.
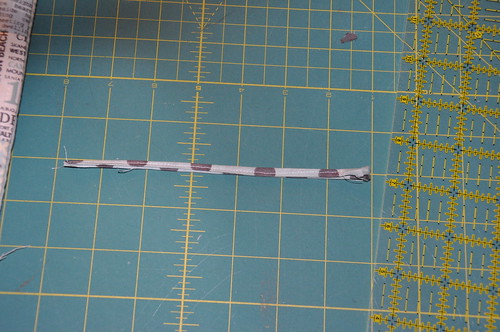
Now on to the button strap. This can be quite fiddly so I always make a bigger piece than I need. The size of course depends on the button you want to use. Here I'm using a relatively big button so i want to make sure the bag is easy to open and close. So I cut a 7,25 x 1 inch strip and folded it halfway, pressed it and opened it up again. Then I blended each side over to match the pressed line, pressed it again and folded it over. Just like making a binding actually.
Once pressed I sew a it as close to the border as I could. It's app. 1/8 inch
Now place the strap in between the inner and outer layer... Right in the middle of course and pin it carefully.
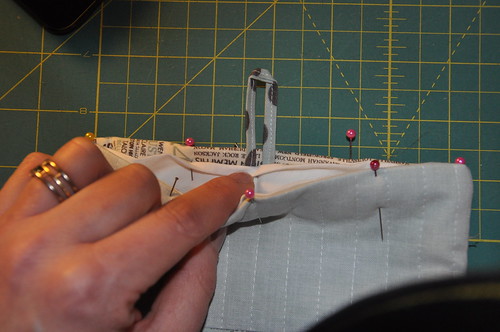
Now all you need to do is sew the layers together along the edge with a 1/8 inch allowance.
Mark the bottom holes with a quilt pen and stitch the button to the bag. It would of course look better if you can do this before placing the inner bag in the outer bag, but I find that it's easier to do after so that I can make sure the button will be in excately the right place and the bag not to tight to close.
Et voila... Here's your padded bag:

Great tutorial Cille - its nice to have you back on board! Hope you can take it easier for the next little while :-) I'm sure your iPad mini will be very happy in its cute little bag.
ReplyDeleteHi Cille, good to hear from you again. Suspectedyou might be buried in work ..
ReplyDeleteLovely tutorial, which is a little more time consuming to make than any "ordinary" blog post: well done
Hope your Christmas was fulfilling and peaceful too xx
Merry Christmas! I was offline for a bit, too. It happens - real life is just one of those things that must be dealt with. :-)
ReplyDeleteThat is a very cute case! And congrats on the Mini - I'm sure you'll love it.
Hi Cille and Happy New Year! That's beautiful cover and great tutorial! I like how it folds and doesn't have a cover piece. Enjoy your new iPad! x Teje
ReplyDeletePerfect! I know how much work goes into doing a tutorial. Thanks for sharing. Wishing you a very happy New Year. Have fun with your new toy.
ReplyDeleteGreat tutorial. Thanks so much for sharing! : )
ReplyDelete